
Showing posts with label Cake Decorating. Show all posts

Wednesday, February 9, 2011

Adventures in Cake Decorating: Day 2

Hello again! I've been busy finding the perfect recipes for a very special Valentines dinner for my husband and I but I took a break to practice my piping skills some more. This time I dyed the icing with Wilton's Moss Green color. One thing I noticed about the icing coloring was that the color seemed to deepen after sitting for a couple minutes. 

I'm using the Cake Decorating Beginners Guide by Wilton to teach myself basic skills of decorating a cake with icing. I like this book because it shows you the angles your bag should be at for particular tips and styles you're trying to do. It also has some very fun cake designs that incorporate your new found decorating skills. So far I've been using the Wilton recipe for basic buttercream icing. This recipe produces icing that is of medium consistency and is very easy to work with. 


Now onto the good stuff... the practice pictures.


I started off with using the round tip #8 to try my hand at some dot flowers. I started with the center dot and then used the perimeter as my guide to pipe the petals. As you can see, I did well on the first few petals on the left flower, but I lost my stride towards the bottom. The petals are too far apart on the flower that's on the right. Once I was finished with the flowers, I gave doing some spirals with the round tip. Those came more naturally to me than the flowers did. They're pretty simple as long as you start from the inside and work your way out. I have no idea what I was trying to accomplish with the spiral on the far right, haha.  After I was done practicing with the spirals, I changed to the star tip #16 to work on some zig zags. The first zig zag (top) went a lot better than the second (bottom). I think the consistency of my icing was too thin and my lack of hand-eye coordination were the culprits that prevented me from making the perfect zig zag.

I moved on to rosettes after my zigzag attempt. I tried making a flower out of the rosettes just as I had out of the dots. I started with the inside rosette and worked my way around that.I had a problem keeping the rosette together. I need to work on keeping the swirls together when making the rosettes. All in all, I'd say it didn't turn out as bad as other attempts I made this time around.  
Next, I switched to the closed star tip #27 and made an attempt at some swirl drop flowers. At the time, I thought that me and swirl drop flowers just weren't meant to be partners. But then I realized that I was using the wrong kind of tip! I should have been using the drop flower tip #1B but like I said before I was using the closed star tip. No wonder they turned out as horrifically as they did. This is proof that this is a dreadfully honest account of a first time cake decorator! haha 
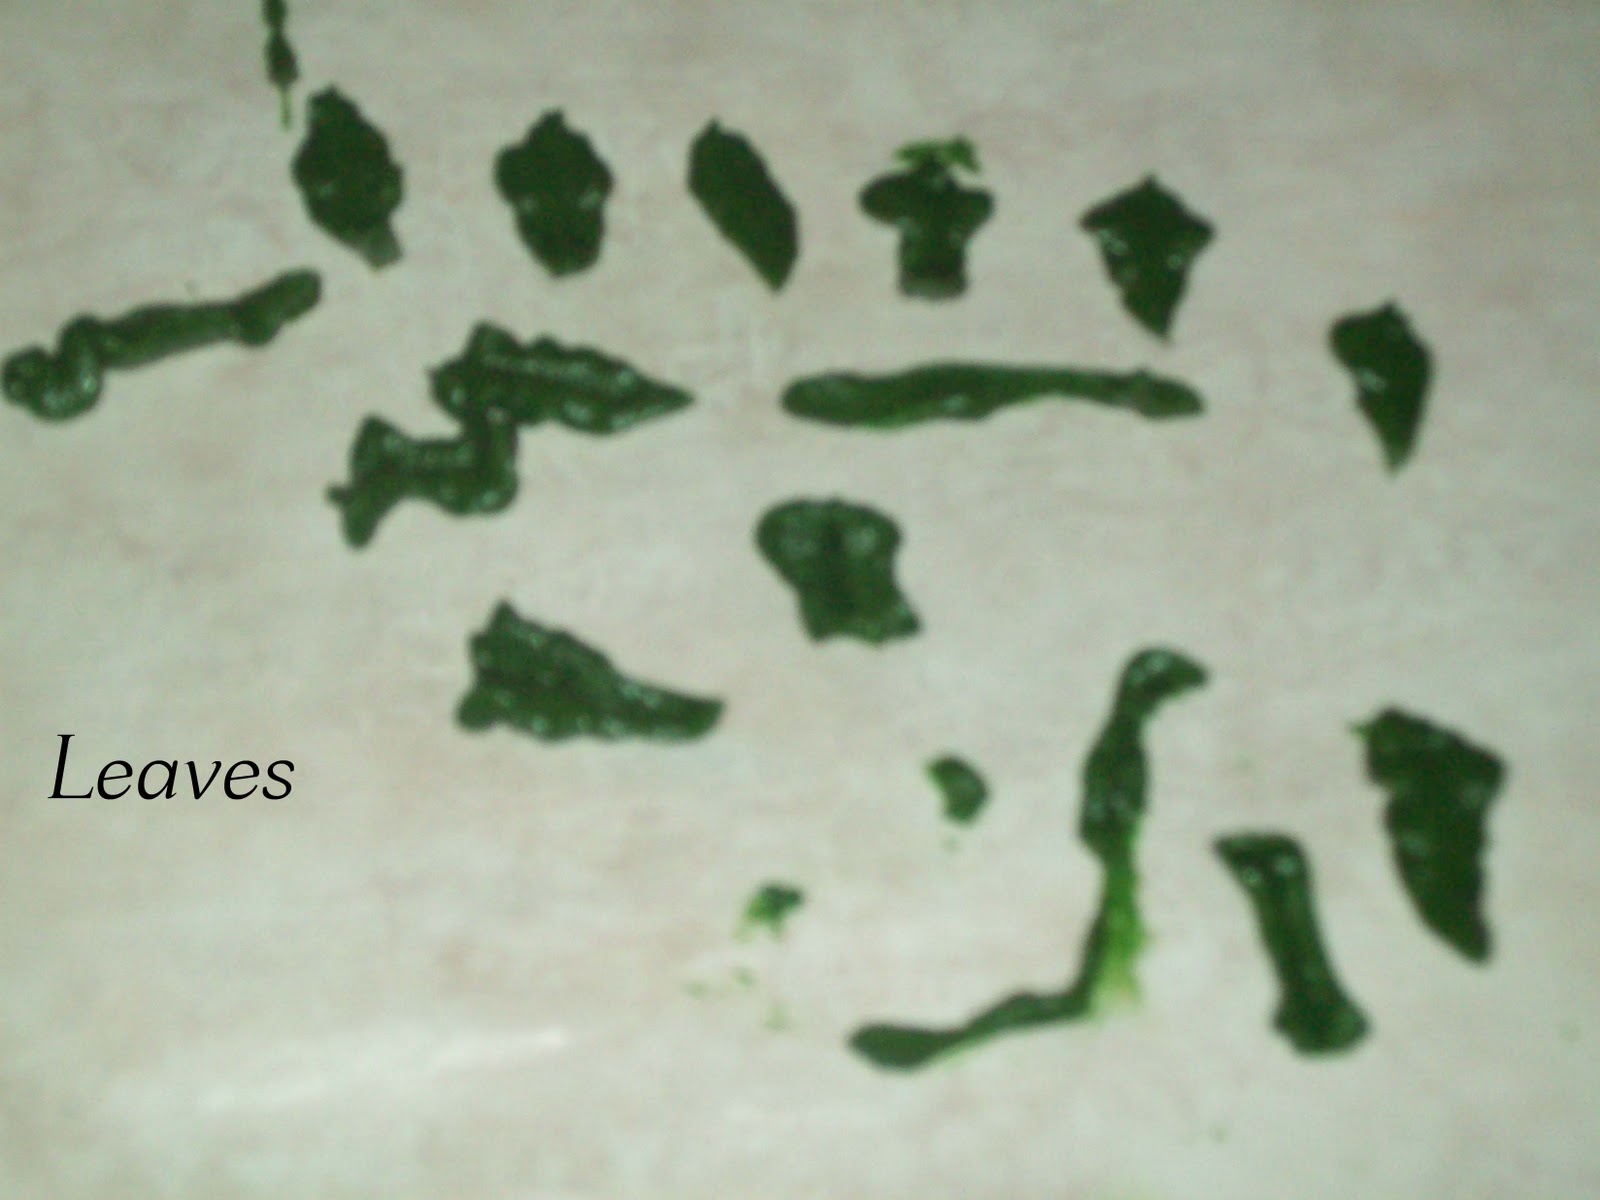

And last but certainly not least... leaves. As you can tell, that failed miserably. I have no words for these other than I need A LOT of practice. 

This is my second attempt at the art of piping icing. I am optimistic about my progress for the future. I have nowhere to go but up, right?! Please stay tuned for the next installment of Adventures in Cake Decorating! 

Monday, January 31, 2011

Adventures in Cake Decorating: Day 1

I've always been fascinated by those cake shows on Food Network and TLC. The cakes on those shows are tall and pristine. Almost too beautiful to eat, almost. It's an art form this artistically challenged momma has always wanted to learn. The one thing I lacked was the motivation to get started.

Upon the eve of my little guys 6 month birthday, it's dawned on me that he'll be having a 1st birthday party in 6 months (duh)! Then I thought to myself how cool it would be if I could make his birthday cake. After the initial excitement wore off, a little knot in my stomach showed up reminding me how little artistic capacity I have. So, I have set a goal to practice 'icing art', as I like to call it, so that by next August I'll have enough skill to make a pretty (notice I didn't say beautiful) cake for my sons 1st birthday. What better way to keep track of my progress than to chronicle it on my blog! So, please grab your popcorn, sodas, pickles, whatever you'd like and enjoy the show. You're in for some highly entertaining pictures.

To begin this journey, I ventured over to Amazon.com to order some supplies I'd need to practice with. After comparing the different kits they offered, I finally decided on the Wilton 53 Piece Supreme Cake Decorating Set . I chose this set because it included a Beginners Guide, an offset spatula, disposable piping bags, 2 tip couplers, icing coloring, and good amount of tips. That's pretty much everything you need to decorate a cake besides the frosting.

After whipping up a batch of buttercream icing, I fitted a piping bag with a coupler, added a tip and filled that sucker up with some icing. This was my very first time ever holding a piping bag in my hand. At first I found it very awkward to hold the soft, squishy bag. Once I got used to the feel of the bag, I tried squeezing out some buttercream I made to make a ribbon. Simple, right? Well, you can see for yourself:

I tried to make a ribbon first. As you can see, my first attempt turned out a little less than pleasant. Apparently I was holding the bag so that the tip was upside down, oops. Ribbon number 2 shows the most improvement, in my opinion. Ribbon number 3 is the most eye catching out of the three. Once I was done with the ribbons, I switched tips and tried doing some rosettes. They're not the best, but not awful either. The tail end of the rosettes kept sticking up and not lying flat. That's something I'll need to work on. I think my icing was too thick, I'll have to make a thinner batch next time.


Next, I tried doing the traditional shell edge. It's a pretty basic cake decorating technique and is seen on most cakes you buy from the bakery nowadays. One thing that felt odd to me was that you start from the right  and work your way left. Obviously this went against the Western doctrine of doing everything left to right that is ingrained  in me. It started out quite well, for a beginner, but by shell number six I lost my stride.


 After the shelled edge, I tried my hand at a zigzag puff. As you can tell, that crashed and burned miserably. It was so bad, I didn't even attempt it a second time. I needed something that I could pull off somewhat decently to give me to ego boost to carry on the mission at hand. So I switched tips and tried to do a basket weave. It was surprisingly simple, even though it doesn't look that great. But hey, it's my first time. Finally, I ended with some simple dots. At least I thought they would be simple. Those little suckers look deceptively easy. One would think that piping a dot of frosting would be the simplest thing ever, right? Well, this artistically challenged momma proved that theory wrong. As you can tell, I have A LOT to learn. But it's a start. Overall I think I did well for a beginner.

For fun, I piped on a cookie I had left over for my husband. It's supposed to be a heart and arrow with 'A + N' written inside. If you look very closely, you can sort of make it out.

As you all can see I have a lot to learn in the realm of cake decorating. But this is my start and I look forward to documenting my progress. A short term goal of mine is to be able to pipe a shelled edge around the perimeter of a heart shaped cake for Valentine's Day. We'll see how that goes.